
In the past, upgrading to a larger hard disk for me was always an opportunity to reinstall everything and start with a new OS. This time, however, I can't afford to do that because I have a pile of things on my plate that I want to clear out before the end of the year. In addition, I happen to be quite happy with SLES 10 (Suse Linux Enterprise 10) on my workstation and I would be devastated if I had to redo all my settings and configurations.
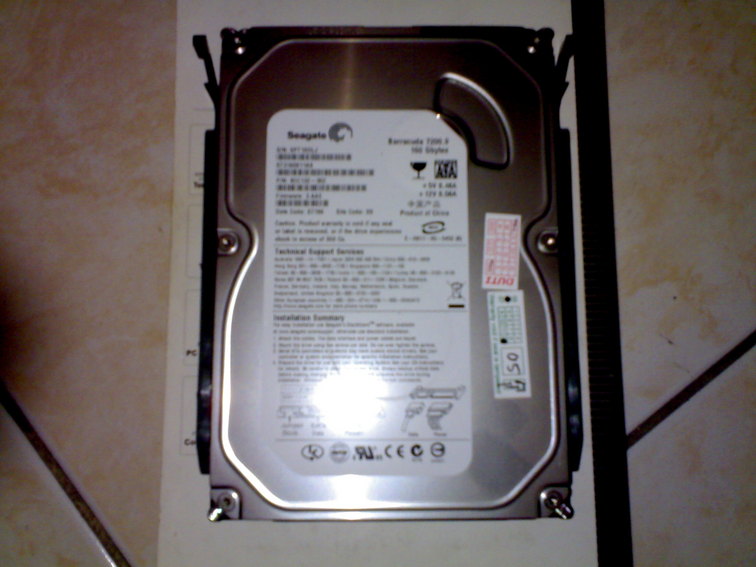
I went to the mall and got myself a new hard drive. It's a Seagate Barracuda 7200.9 160GB 7200rpm with 8MB cache. I would've wanted a Barracuda ES but it's available on order basis only and I didn't want to wait too long.
So here's the sitch ... I have an old 40GB hard drive that's about to give and I want to upgrade to my new 160GB hard drive but I don't want to reinstall my OS.
Thank goodness for the internet, to everyone who likes to post about their problems with their hard disks and best of all to everyone who answers.
So here's what I did.
First, I turned off the computer and unplugged it. My motherboard supports both SATA and IDE interfaces. I installed my new hard drive and plugged it into SATA1.Next, I boot up my PC and enter the BIOS. On my PC, I just press the delete key while it's booting up. Then, I configure the hard disk boot sequence so that it boots from SATA instead of the IDE interface. Note that not all motherboards supports this feature. While I am in the BIOS, I also configure the CDROM to boot first, you'll find out why next.
I used a Xubuntu Live CD to boot the PC after the configurations I made to the BIOS. In Xubuntu, I open a terminal and executed the following.
dd if=/dev/hda of=/dev/sda
My old hard disk is detected as /dev/hda while by new hard disk is /dev/sda. The dd command will copy my old hard disk into my new one byte per byte including the master boot records. There are some people that will argue that the above command can be used ONLY to clone two hard disks that are exactly the same so I was cautious but the explanations weren't very convincing so I decided to take a risk.
The copy took a while to finish. After it was done, I used cfdisk to verify the partitions on my new hard disk
cfdisk /dev/sda
From cfdisk I can see that I have a 40GB partition and about 110GB free disk space. I converted the free space into a new partition. I saved the configurations and exited cfdisk. Note that I could also have opted to resize the existing partition to use the entire disk.
I then ran fsck on /dev/sda1 which is the new partition which is the copy of my old hard drive. fsck did not report any problems.
Before rebooting, I mounted /dev/sda1 into a temporary directory.
cd /
mkdir tmpdir
mount /dev/sda1 tmpdir
Then I went into /tmpdir/boot and proceeded to edit the following files.
- /boot/grub/menu.lst
- /boot/grub/device.map
- /etc/fstab
I rebooted the PC and crossed my fingers. I was welcomed by the familiar grub menu and it proceeded to boot SLES 10. I logged in and it was like nothing changed.
Helpful Links
http://forums.gentoo.org/viewtopic-t-72947-highlight-cfdisk.html
http://www.linuxquestions.org/questions/showthread.php?p=1848006#post1848006
http://en.wikipedia.org/wiki/Dd_%28Unix%29
No comments:
Post a Comment